Installation
To run our system, we need two components:
mycoind, our custom ABCI applicationtendermint, a powerful blockchain consensus engine
If you have never used tendermint before, you should read the ABCI Overview and ideally through to the bottom of the page. The end result is that we have three programs communicating:
+---------+                     +------------+                      +----------+
| mycoind |  <- (local) ABCI -> | Tendermint |   <- websocket ->    | client   |
+---------+                     +------------+                      +----------+
mycoind and tendermint run on the same computer and communicate via
a binary protocol over localhost or a unix socket. Together they form
a “blockchain”. In a real setup, you would have dozens (or hundreds)
of computers running this backend communicating over a self-adjusting
p2p gossip network to replicate the state. For application development
(and demos) one copy will work, but has none of the fault tolerance of a
real blockchain.
You can connect to tendermint rpc via various client libraries. We recommend IOV Core which has very good support for weave-based apps, as well as different blockchains (such as Ethereum and Lisk).
Install backend programs
You should have a proper go development environment, as explained
in the last section. Now, check out
the most recent version of iov-one/weave and build mycoind then get
the version 0.31.5 for tendermint from here.
You can also build tendermint from source following the instructions
there
but make sure to use the tag v0.31.5 as other versions might not be compatible.
Note we use go mod for dependency management. This is enabled by default in go 1.12+.
If you are running go 1.11.4+, you must run the following in the terminal (or add to ~/.bashrc):
export GO111MODULE=on
Those were the most recent versions as of the time of the writing, your code should be a similar version. If you have an old version of the code, you may have to delete it to force go to rebuild:
rm `which tendermint`
rm `which mycoind`
Initialize the Blockchain
Before we start the blockchain, we need to set up the initial state.
This is defined in a genesis block. Both tendermint and mycoind
have a directory to store configuration and internal database state.
By default those are ~/.tendermint and ~/.mycoind. However, to
make things simpler, we will ask them both to put everything in the
same directory.
First, we create a default genesis file, the private key for the validator to sign blocks, and a default config file.
# make sure you really don't care what was in this directory and...
rm -rf ~/.mycoind
tendermint init --home ~/.mycoind
You can take a look in this directory if you are curious. The most
important piece for us is ~/.mycoind/config/genesis.json.
You may also notice ~/.mycoind/config/config.toml with lots
of options to set for power users.
We want to add a bunch of tokens to the account we just made before launching the blockchain. And we’d also like to enable the indexer, so we can search for our transactions by id (default state is off). But rather than have you fiddle with the config files by hand, you can just run this to do the setup:
mycoind init CASH bech32:tiov1qrw95py2x7fzjw25euuqlj6dq6t0jahe7rh8wp
Make sure you enter the same hex address, this account gets the tokens.
You can take another look at ~/.mycoind/config/genesis.json after running
this command. The important change was to “app_state”. You can also
create this by hand later to give many people starting balances, but let’s
keep it simple for now and get something working. Feel free to
wipe out the directory later and reinitialize another blockchain with
custom configuration to experiment.
You may ask where this address comes from. It is a demo account derived from our test
mnemonic: dad kiss slogan offer outer bomb usual dream awkward jeans enlist mansion
using the hd derivation path: m/44'/234'/0'. This is the path used by our wallet,
so you can enter your mnemonic in our web-wallet and see this account.
Note that you can define the addresses both in hex: and bech32: formats
(if prefix is ommitted, hex is assumed)
Start the Blockchain
We have a private key and setup all the configuration. The only thing left is to start this blockchain running.
tendermint node --home ~/.mycoind > ~/.mycoind/tendermint.log &
mycoind start
This connects over tcp://localhost:26658 by default, to use unix sockets (arguably more secure), try the following:
tendermint node --home ~/.mycoind --proxy_app=unix://$HOME/abci.socket > ~/.mycoind/tendermint.log &
mycoind start -bind=unix://$HOME/abci.socket
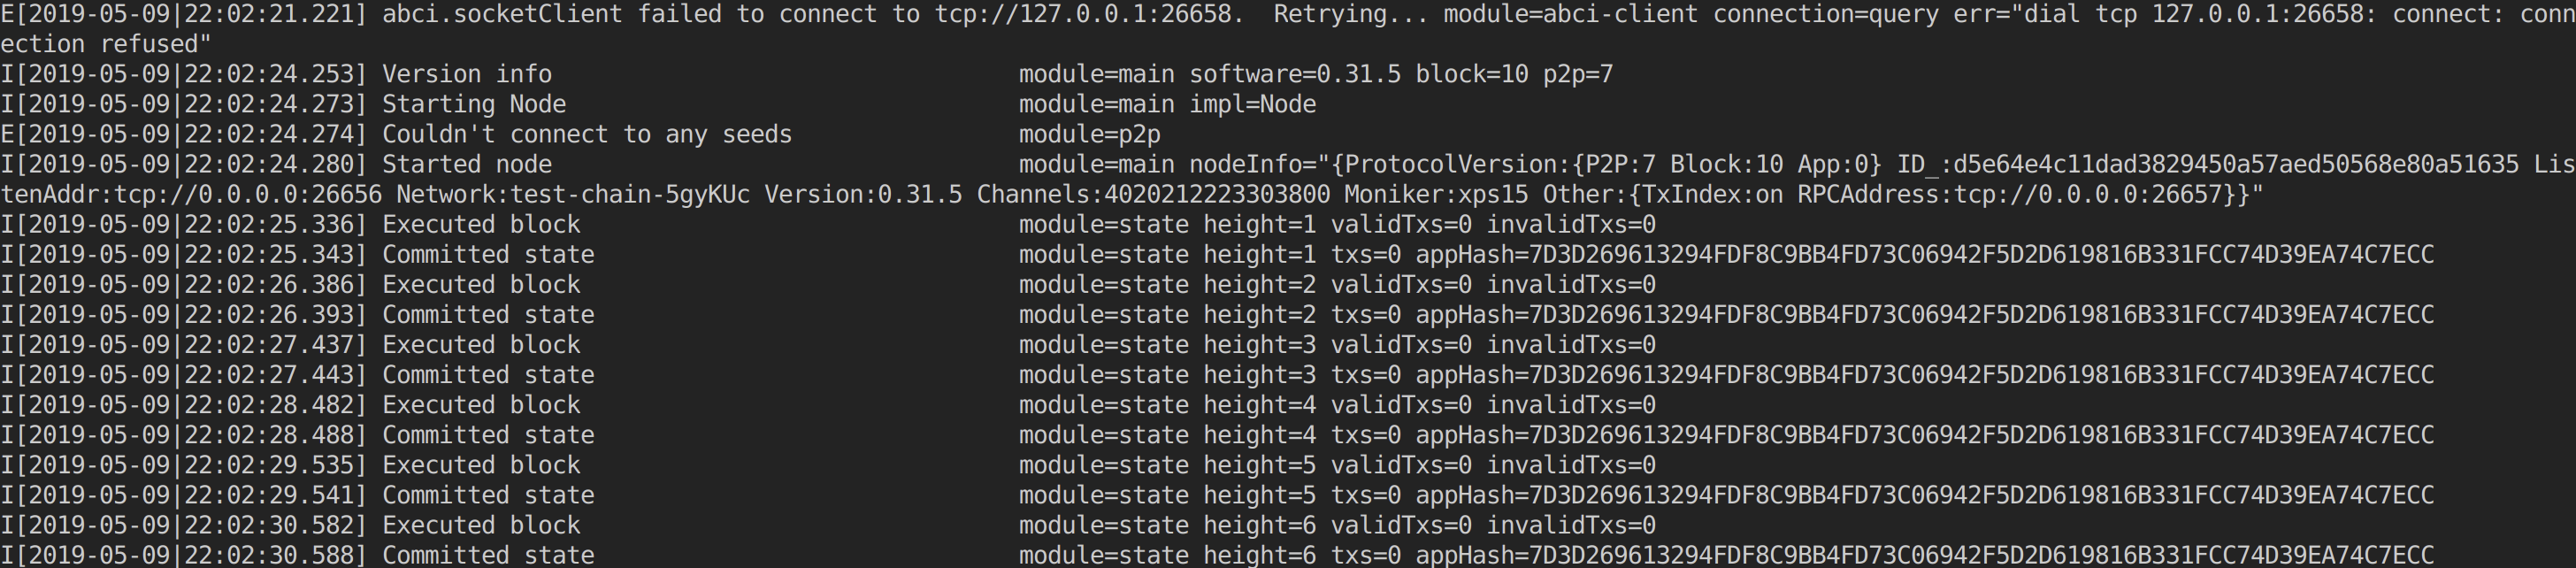
Open a new window and type in tail -f ~/.mycoind/tendermint.log and you will be able to see the output.
That means the blockchain is working away and producing new blocks,
one a second.
Note: if you did anything funky during setup and managed to get yourself a rogue tendermint
node running in the background, you might encounter errors like panic: Error initializing DB: resource temporarily unavailable.
A quick killall tendermint should get you back on track.